a story of heat transfer film
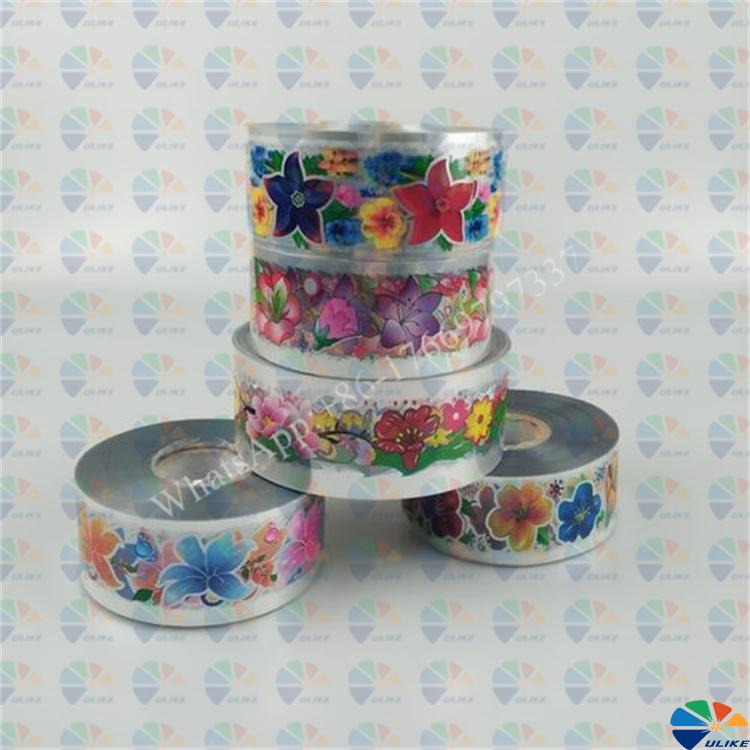
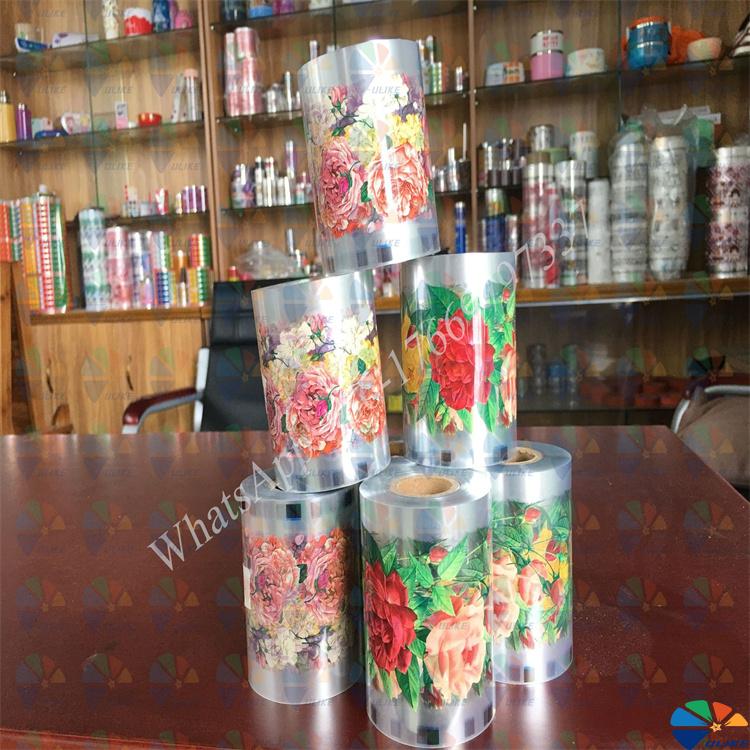
Heat transfer film, also known as heat transfer vinyl (HTV) or heat transfer printing film, is a material used to transfer designs, graphics, or text onto various substrates, primarily fabrics, using heat and pressure. This technique is popular in custom apparel, promotional products, and other personalized items. Here's a comprehensive overview:
### Components of
Heat Transfer Film
1. **Carrier Sheet**: A clear plastic backing that holds the vinyl design in place during cutting and application.
2. **Adhesive Layer**: A heat-activated adhesive that bonds the design to the substrate.
3. **Vinyl Layer**: The colored or patterned material that forms the actual design.
4. **Protective Layer (optional)**: Sometimes includes a protective layer to prevent damage during storage and handling.
### Types of
Heat Transfer Film
1. **Standard HTV**: Basic vinyl used for most applications, available in various colors and finishes (matte, glossy).
2. **Specialty HTV**:
- **Glitter HTV**: Adds a glittery finish to designs.
- **Metallic HTV**: Provides a shiny, metallic look.
- **Flock HTV**: Has a fuzzy, textured surface.
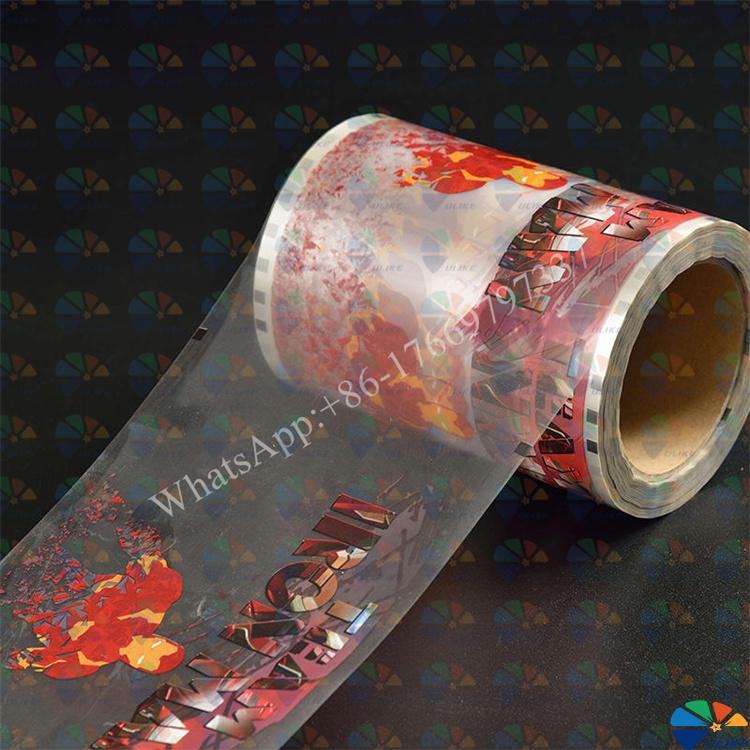
- **Reflective HTV**: Reflects light, used for safety garments.
- **Stretch HTV**: Designed for stretchy fabrics like spandex or Lycra.
- **Glow-in-the-Dark HTV**: Glows in the dark after being exposed to light.
### Process of Applying Heat Transfer Film
1. **Design Creation**: Create a design using graphic design software.
2. **Cutting**: Use a vinyl cutter or plotter to cut the design out of the heat transfer film. The machine cuts through the vinyl layer but not the carrier sheet.
3. **Weeding**: Remove the excess vinyl from around the design, leaving only the desired graphic on the carrier sheet.
4. **Pre-Pressing**: Preheat the substrate (e.g., a t-shirt) to remove moisture and wrinkles, ensuring a smooth surface for transfer.
5. **Positioning**: Place the weeded design, carrier sheet side up, onto the substrate.
6. **Heat Pressing**: Use a heat press machine to apply heat and pressure for a specified time (typically around 300-350°F for 10-20 seconds, depending on the material). This activates the adhesive and bonds the vinyl to the substrate.
7. **Peeling**: Once cooled, peel off the carrier sheet, leaving the vinyl design on the substrate.
### Applications of
Heat Transfer Film
- **Custom Apparel**: T-shirts, hoodies, jerseys, and hats.
- **Promotional Products**: Bags, caps, and other merchandise.
- **Home Decor**: Pillows, blankets, and curtains.
- **Corporate Branding**: Uniforms and branded clothing.
- **Sportswear**: Numbers, names, and logos on athletic gear.
### Advantages of
Heat Transfer Film
- **Durability**: Designs are long-lasting and withstand multiple washes.
- **Versatility**: Suitable for a wide range of fabrics and materials.
- **Customization**: Allows for detailed and intricate designs, including multi-color and layered effects.
- **Accessibility**: Requires relatively simple equipment compared to other printing methods.
### Considerations
- **Material Compatibility**: Ensure the chosen HTV is suitable for the substrate material.
- **Heat Settings**: Follow the recommended temperature and time settings to avoid damaging the substrate or the HTV.
- **Proper Equipment**: Use a quality heat press machine for consistent results.
Heat transfer film is a popular and effective method for personalizing and customizing a wide array of products, offering vibrant colors, durability, and versatility.
![af]() Afrikaans
Afrikaans![sq]() Albanian
Albanian![am]() Amharic
Amharic![ar]() Arabic
Arabic![fr]() French
French![es]() Spanish
Spanish![ru]() Russian
Russian![de]() German
German![hy]() Armenian
Armenian![it]() Italian
Italian![ja]() Japanese
Japanese![ko]() Korean
Korean![pt]() Portuguese
Portuguese![hi]() Hindi
Hindi![az]() Azerbaijani
Azerbaijani![ro]() Romanian
Romanian![pl]() Polish
Polish![th]() Thai
Thai![el]() Greek
Greek![eu]() Basque
Basque![en]() English
English![zh-CN]() Chinese (Simplified)
Chinese (Simplified)![zh-TW]() Chinese (Traditional)
Chinese (Traditional)![be]() Belarusian
Belarusian![bn]() Bengali
Bengali![bs]() Bosnian
Bosnian![bg]() Bulgarian
Bulgarian![ca]() Catalan
Catalan![ceb]() Cebuano
Cebuano![ny]() Chichewa
Chichewa![co]() Corsican
Corsican![hr]() Croatian
Croatian![cs]() Czech
Czech![da]() Danish
Danish![nl]() Dutch
Dutch![eo]() Esperanto
Esperanto![et]() Estonian
Estonian![tl]() Filipino
Filipino![fi]() Finnish
Finnish![fy]() Frisian
Frisian![gl]() Galician
Galician![ka]() Georgian
Georgian![gu]() Gujarati
Gujarati![ht]() Haitian Creole
Haitian Creole![ha]() Hausa
Hausa![haw]() Hawaiian
Hawaiian![iw]() Hebrew
Hebrew![hmn]() Hmong
Hmong![hu]() Hungarian
Hungarian![is]() Icelandic
Icelandic![ig]() Igbo
Igbo![id]() Indonesian
Indonesian![ga]() Irish
Irish![jw]() Javanese
Javanese![kn]() Kannada
Kannada![kk]() Kazakh
Kazakh![km]() Khmer
Khmer![ku]() Kurdish (Kurmanji)
Kurdish (Kurmanji)![ky]() Kyrgyz
Kyrgyz![lo]() Lao
Lao![la]() Latin
Latin![lv]() Latvian
Latvian![lt]() Lithuanian
Lithuanian![lb]() Luxembourgish
Luxembourgish![mk]() Macedonian
Macedonian![mg]() Malagasy
Malagasy![ms]() Malay
Malay![ml]() Malayalam
Malayalam![mt]() Maltese
Maltese![mi]() Maori
Maori![mr]() Marathi
Marathi![mn]() Mongolian
Mongolian![my]() Myanmar (Burmese)
Myanmar (Burmese)![ne]() Nepali
Nepali![no]() Norwegian
Norwegian![ps]() Pashto
Pashto![fa]() Persian
Persian![pa]() Punjabi
Punjabi![sm]() Samoan
Samoan![gd]() Scottish Gaelic
Scottish Gaelic![sr]() Serbian
Serbian![st]() Sesotho
Sesotho![sn]() Shona
Shona![sd]() Sindhi
Sindhi![si]() Sinhala
Sinhala![sk]() Slovak
Slovak![sl]() Slovenian
Slovenian![so]() Somali
Somali![su]() Sudanese
Sudanese![sw]() Swahili
Swahili![sv]() Swedish
Swedish![tg]() Tajik
Tajik![ta]() Tamil
Tamil![te]() Telugu
Telugu![tr]() Turkish
Turkish![uk]() Ukrainian
Ukrainian![ur]() Urdu
Urdu![uz]() Uzbek
Uzbek![vi]() Vietnamese
Vietnamese![cy]() Welsh
Welsh![xh]() Xhosa
Xhosa![yi]() Yiddish
Yiddish![yo]() Yoruba
Yoruba![zu]() Zulu
Zulu


